





 All Gels
 1-Phase Gels
 Bonding Gels
 Builder Gels
 Finish Gels
 Fiberglass Gels
 French Gels
 Make-up/Camouflage
 Color Gels
 Effect Gels
 All Acrylics
 Acrylic Powder
 Polyacrylic Gels
 Acrylic Liquids
 Acrylic Accessories
 All Nail Polishes
 Nail Polish
 Shellac
 Stamping Polish
 All Liquids
 Cleaner
 Primer & Nail Prep
 Antifungal
 No Lines
 Remover
 All Nail Art
 Rhinestones, Effects & Pigments
 One Stroke & Stamping
 Stickers & Nail Foils
 All Products
 Creams
 Nail Oils
 Hygiene & Disinfection
 UV/LED Lamps & Desk Lamps
 Nail Drills & Bits
 Files & Buffers
 Brushes
 Tools
 Empty Containers
 Display & Storage
 Nail Extension / Repair
 Sets

Nail drill bits are the heart of every electric nail file – but with cones, cylinders, balls, ceramic and diamond, it's easy to lose track. In this guide you'll learn which nail drill bit is meant for which job, which grit you need and how to work safely and gently. Whether you sculpt nails in the salon or look after your gel nails at home.
Why the right drill bit matters
A nail drill is only as good as the bit inside it. Material, shape and grit determine how quickly you remove product, how smooth the surface becomes and how much heat is generated. With the right bit you work:
- faster – because the bit matches the task,
- more gently – because you need less pressure and don't put unnecessary strain on the natural nail,
- more cleanly – because transitions, side walls and the free edge turn out precise.
You'll find all bits and sets in our nail drills and bits category.
Materials: ceramic, diamond & more
Ceramic drill bits
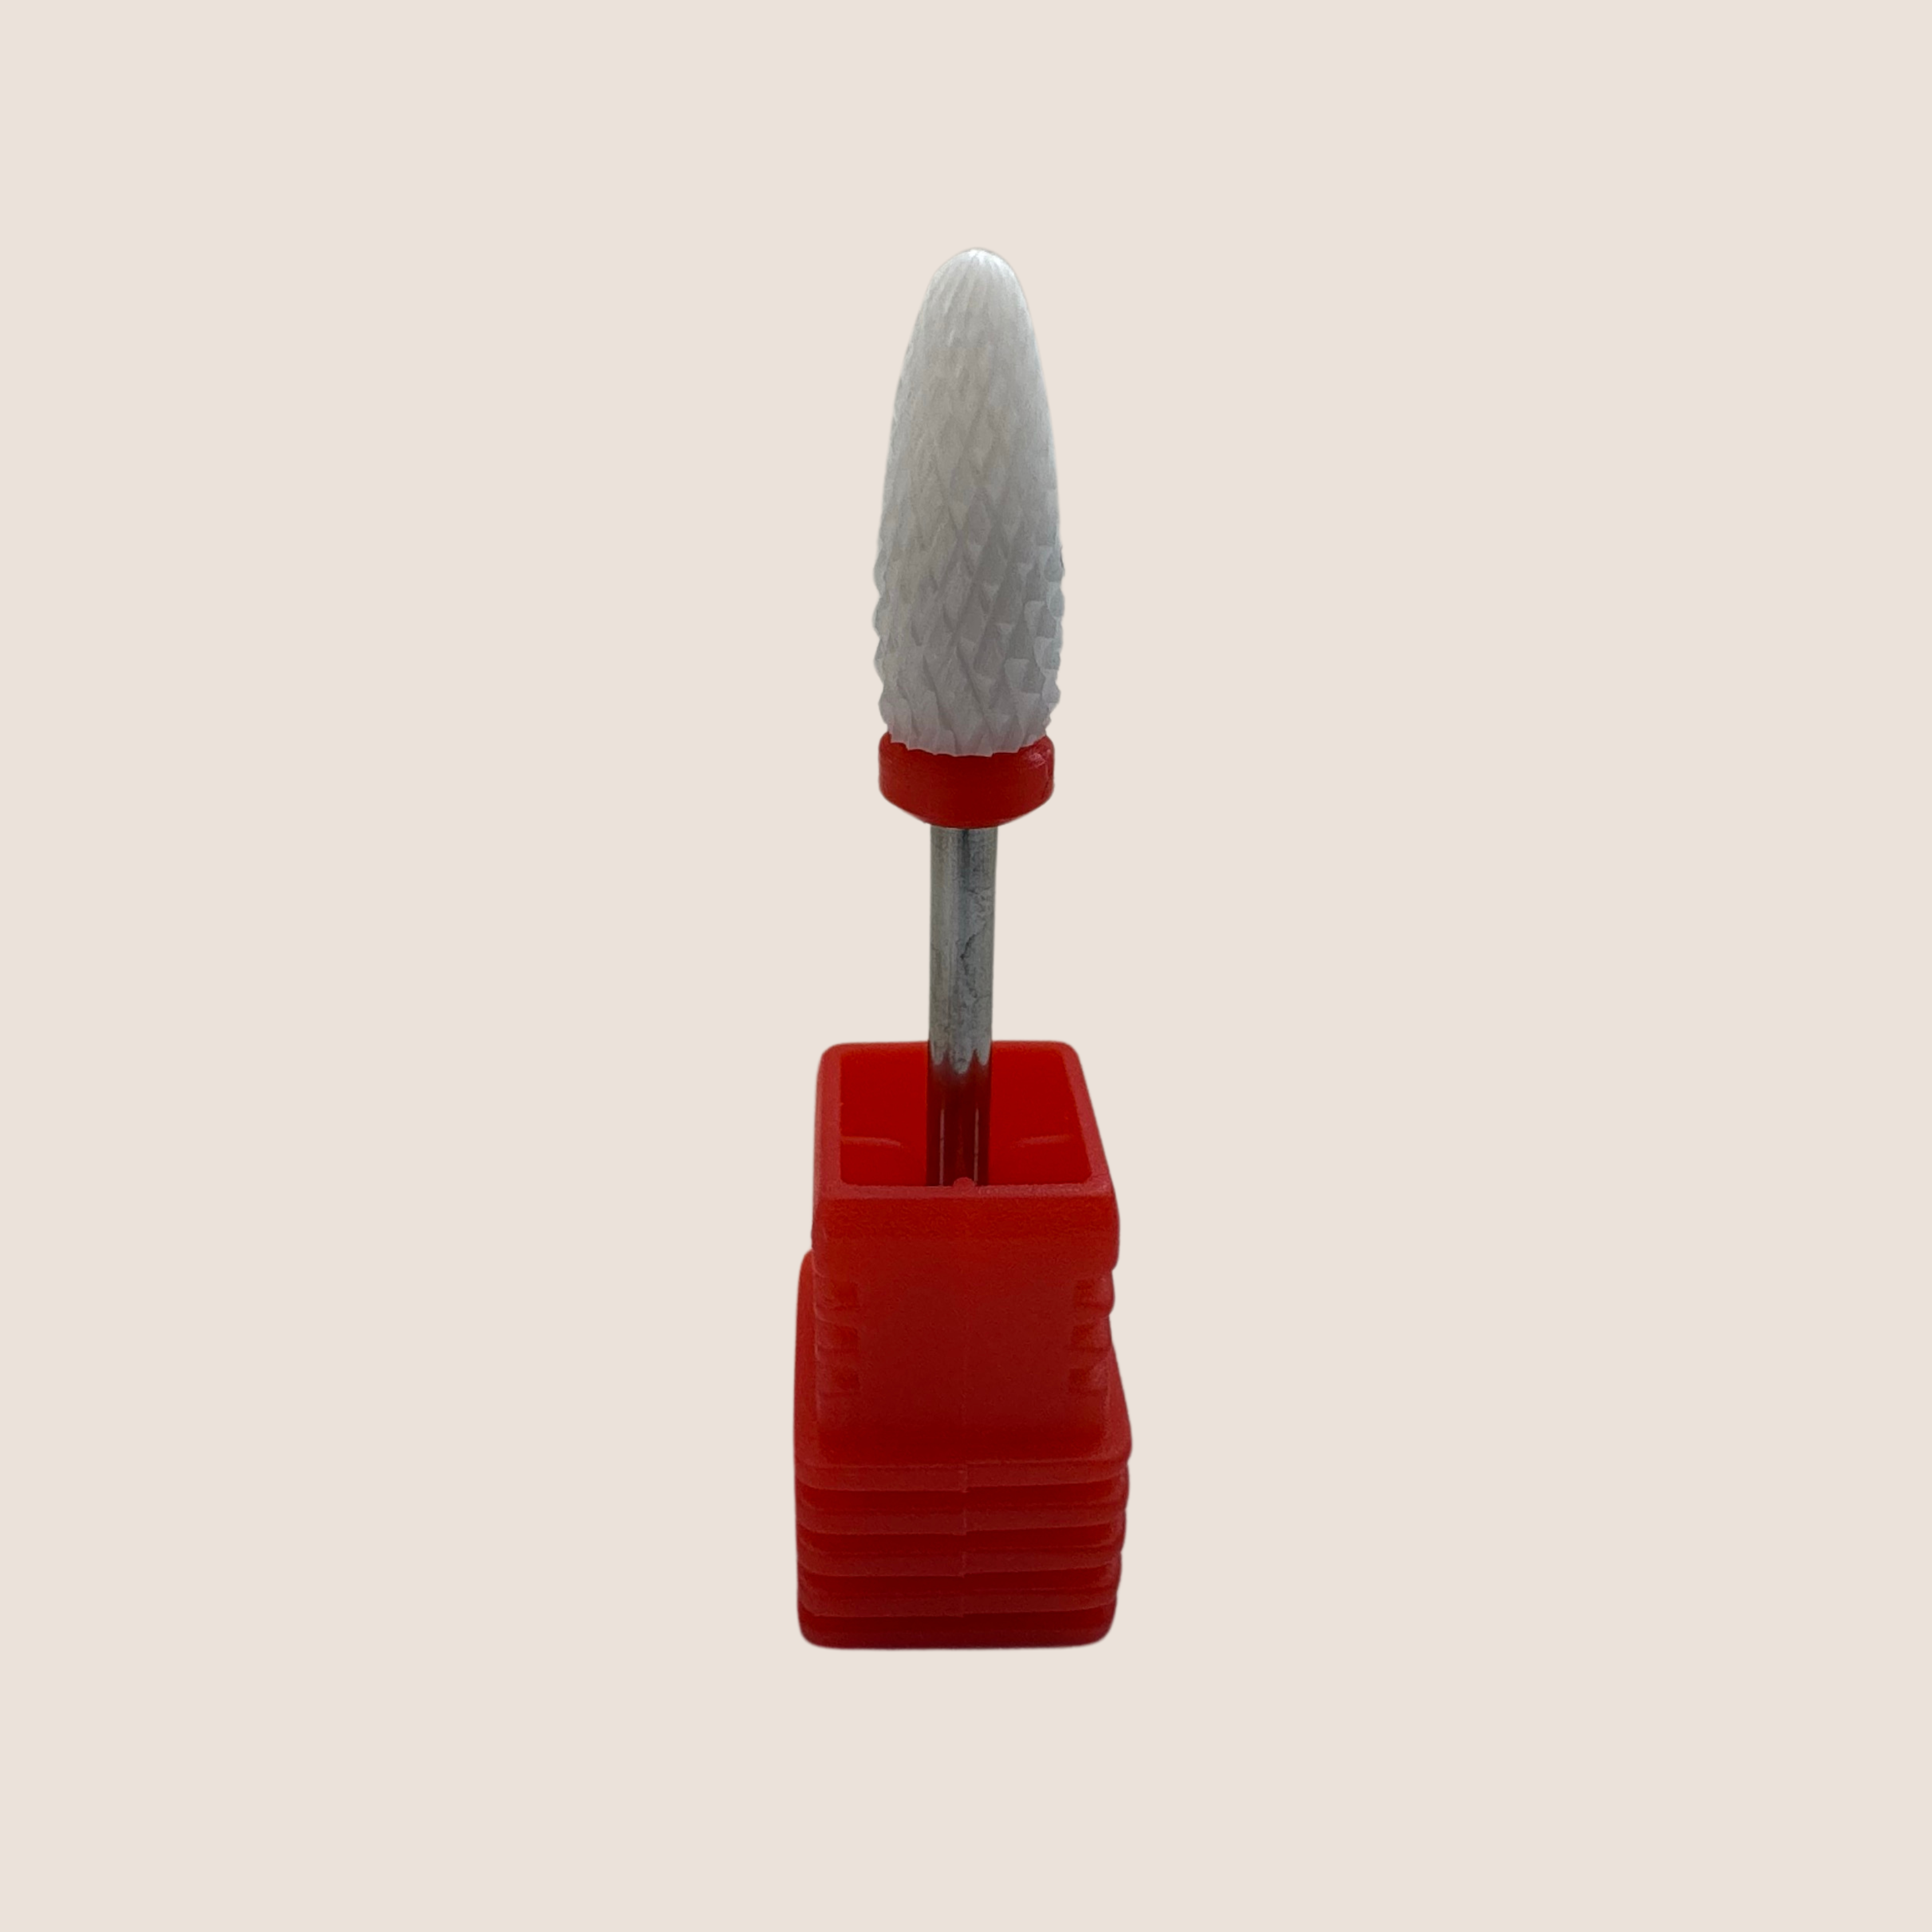
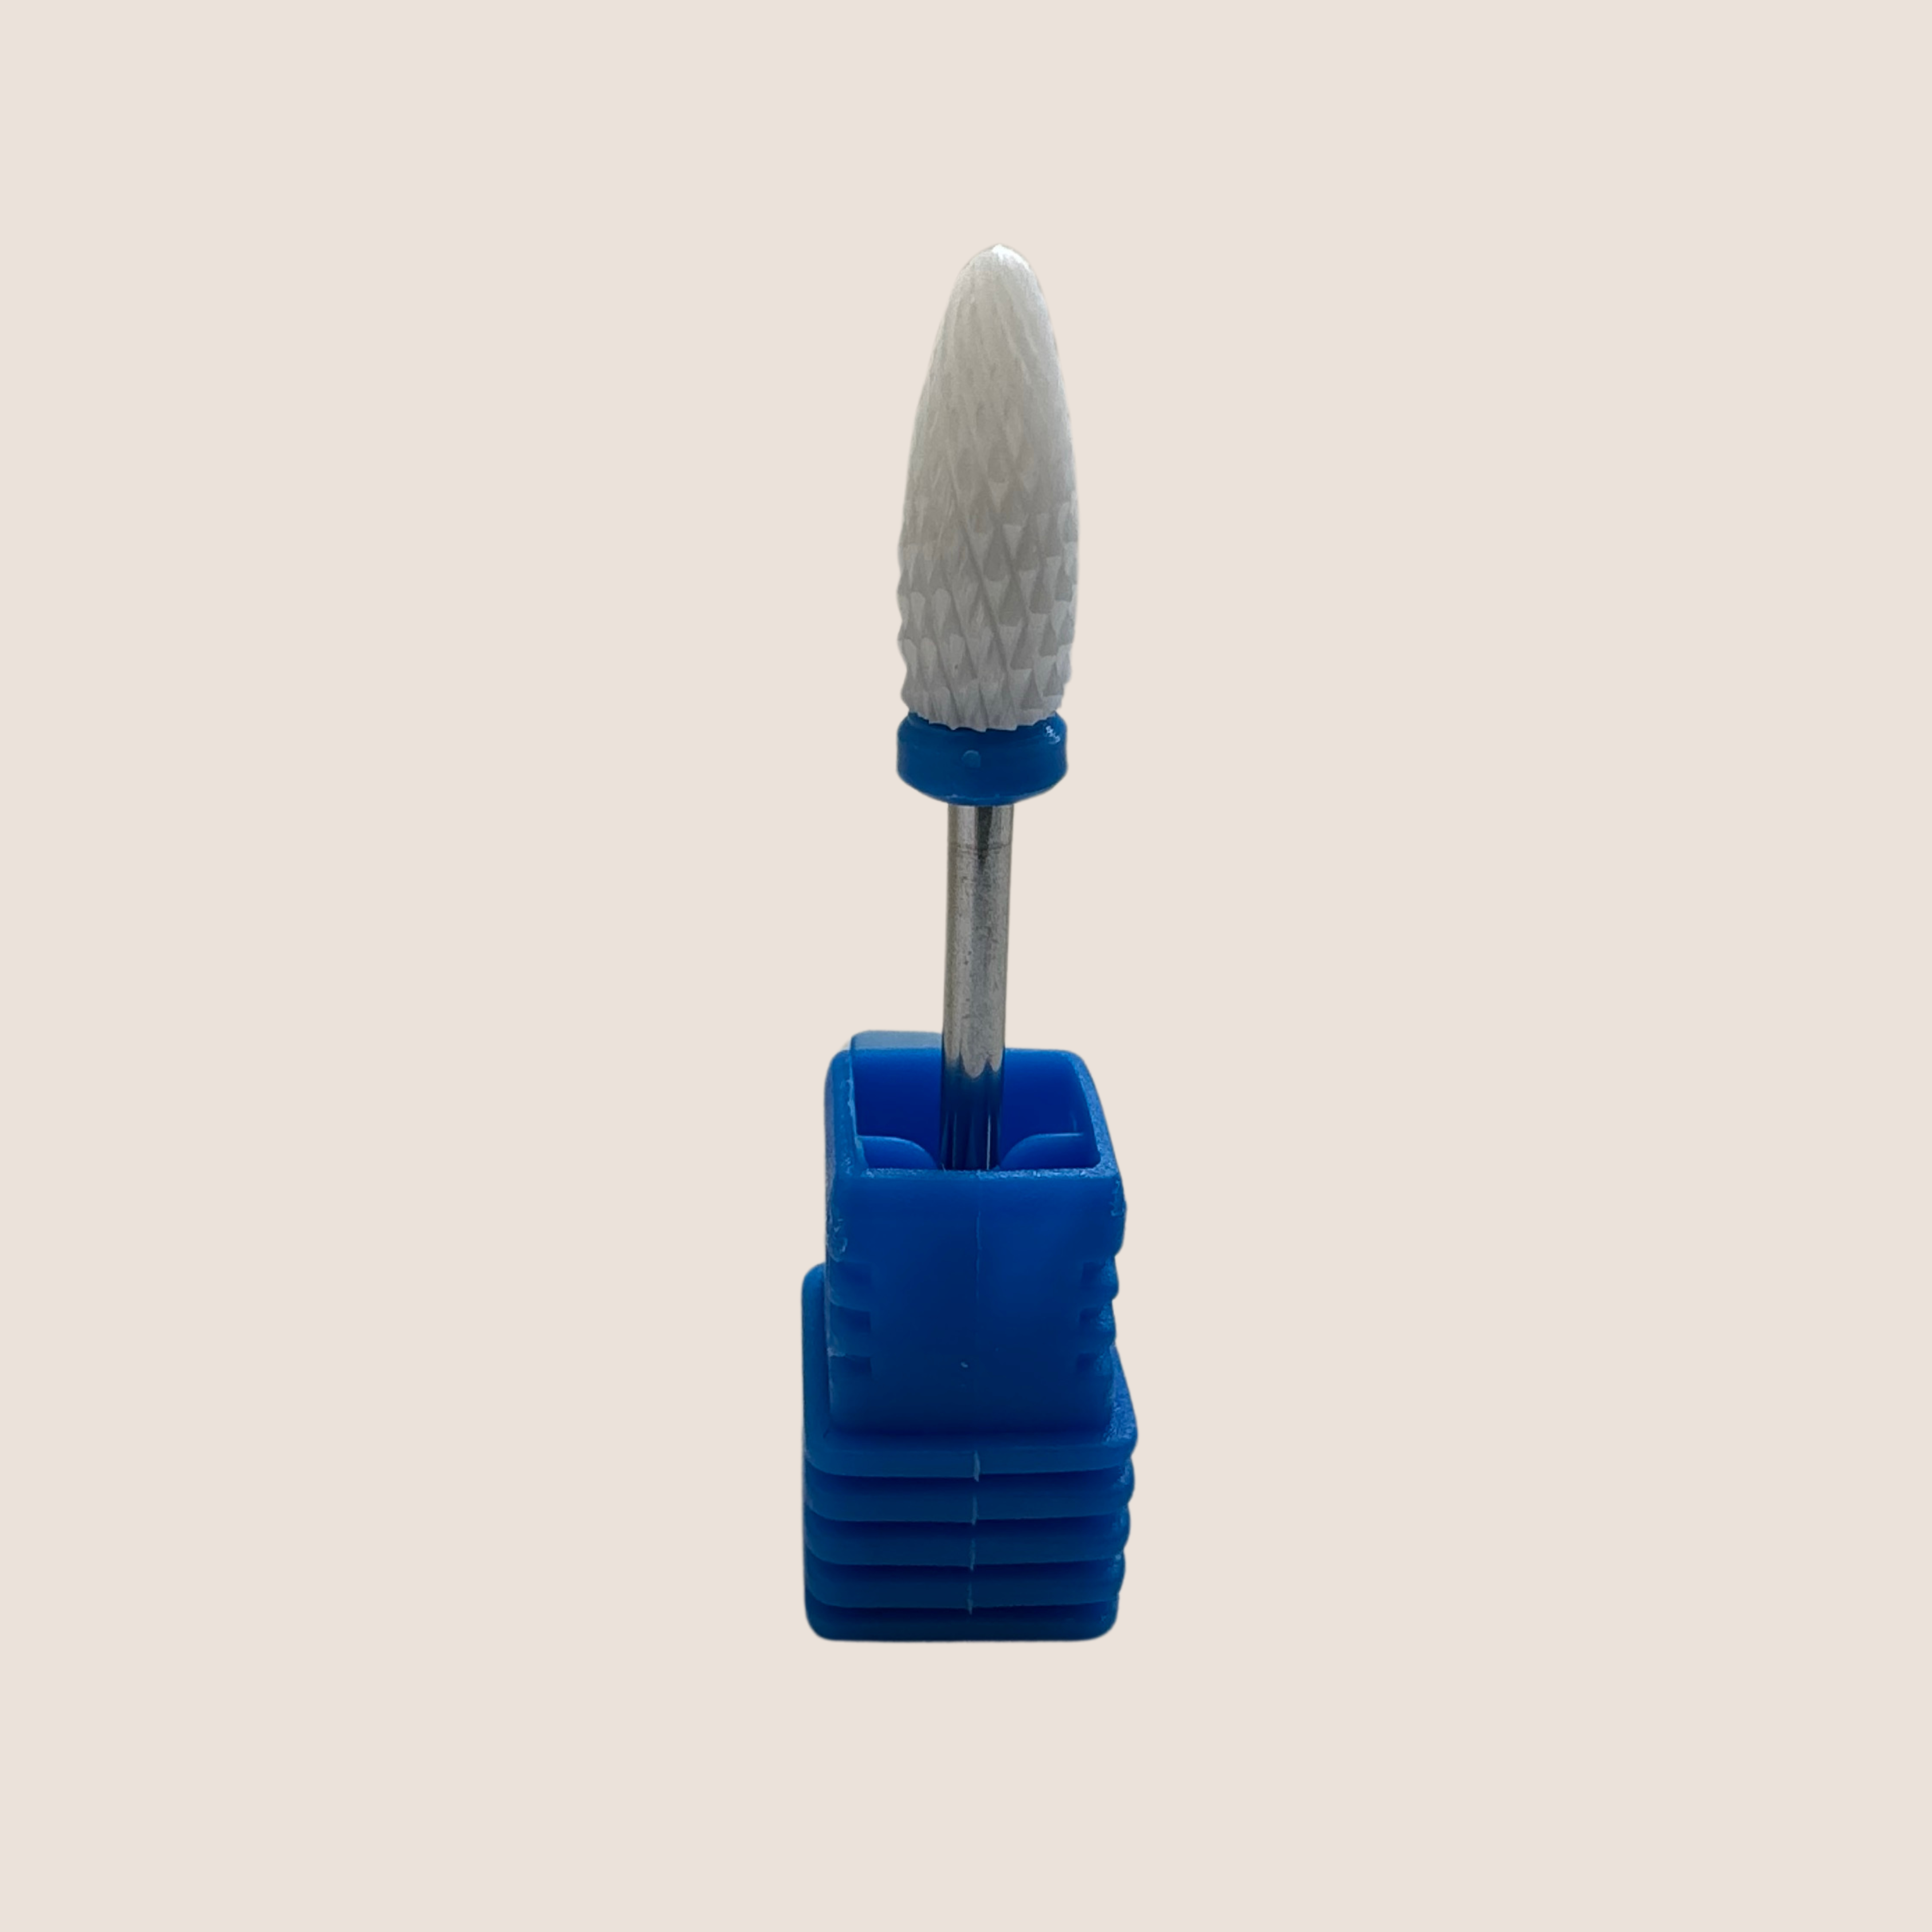
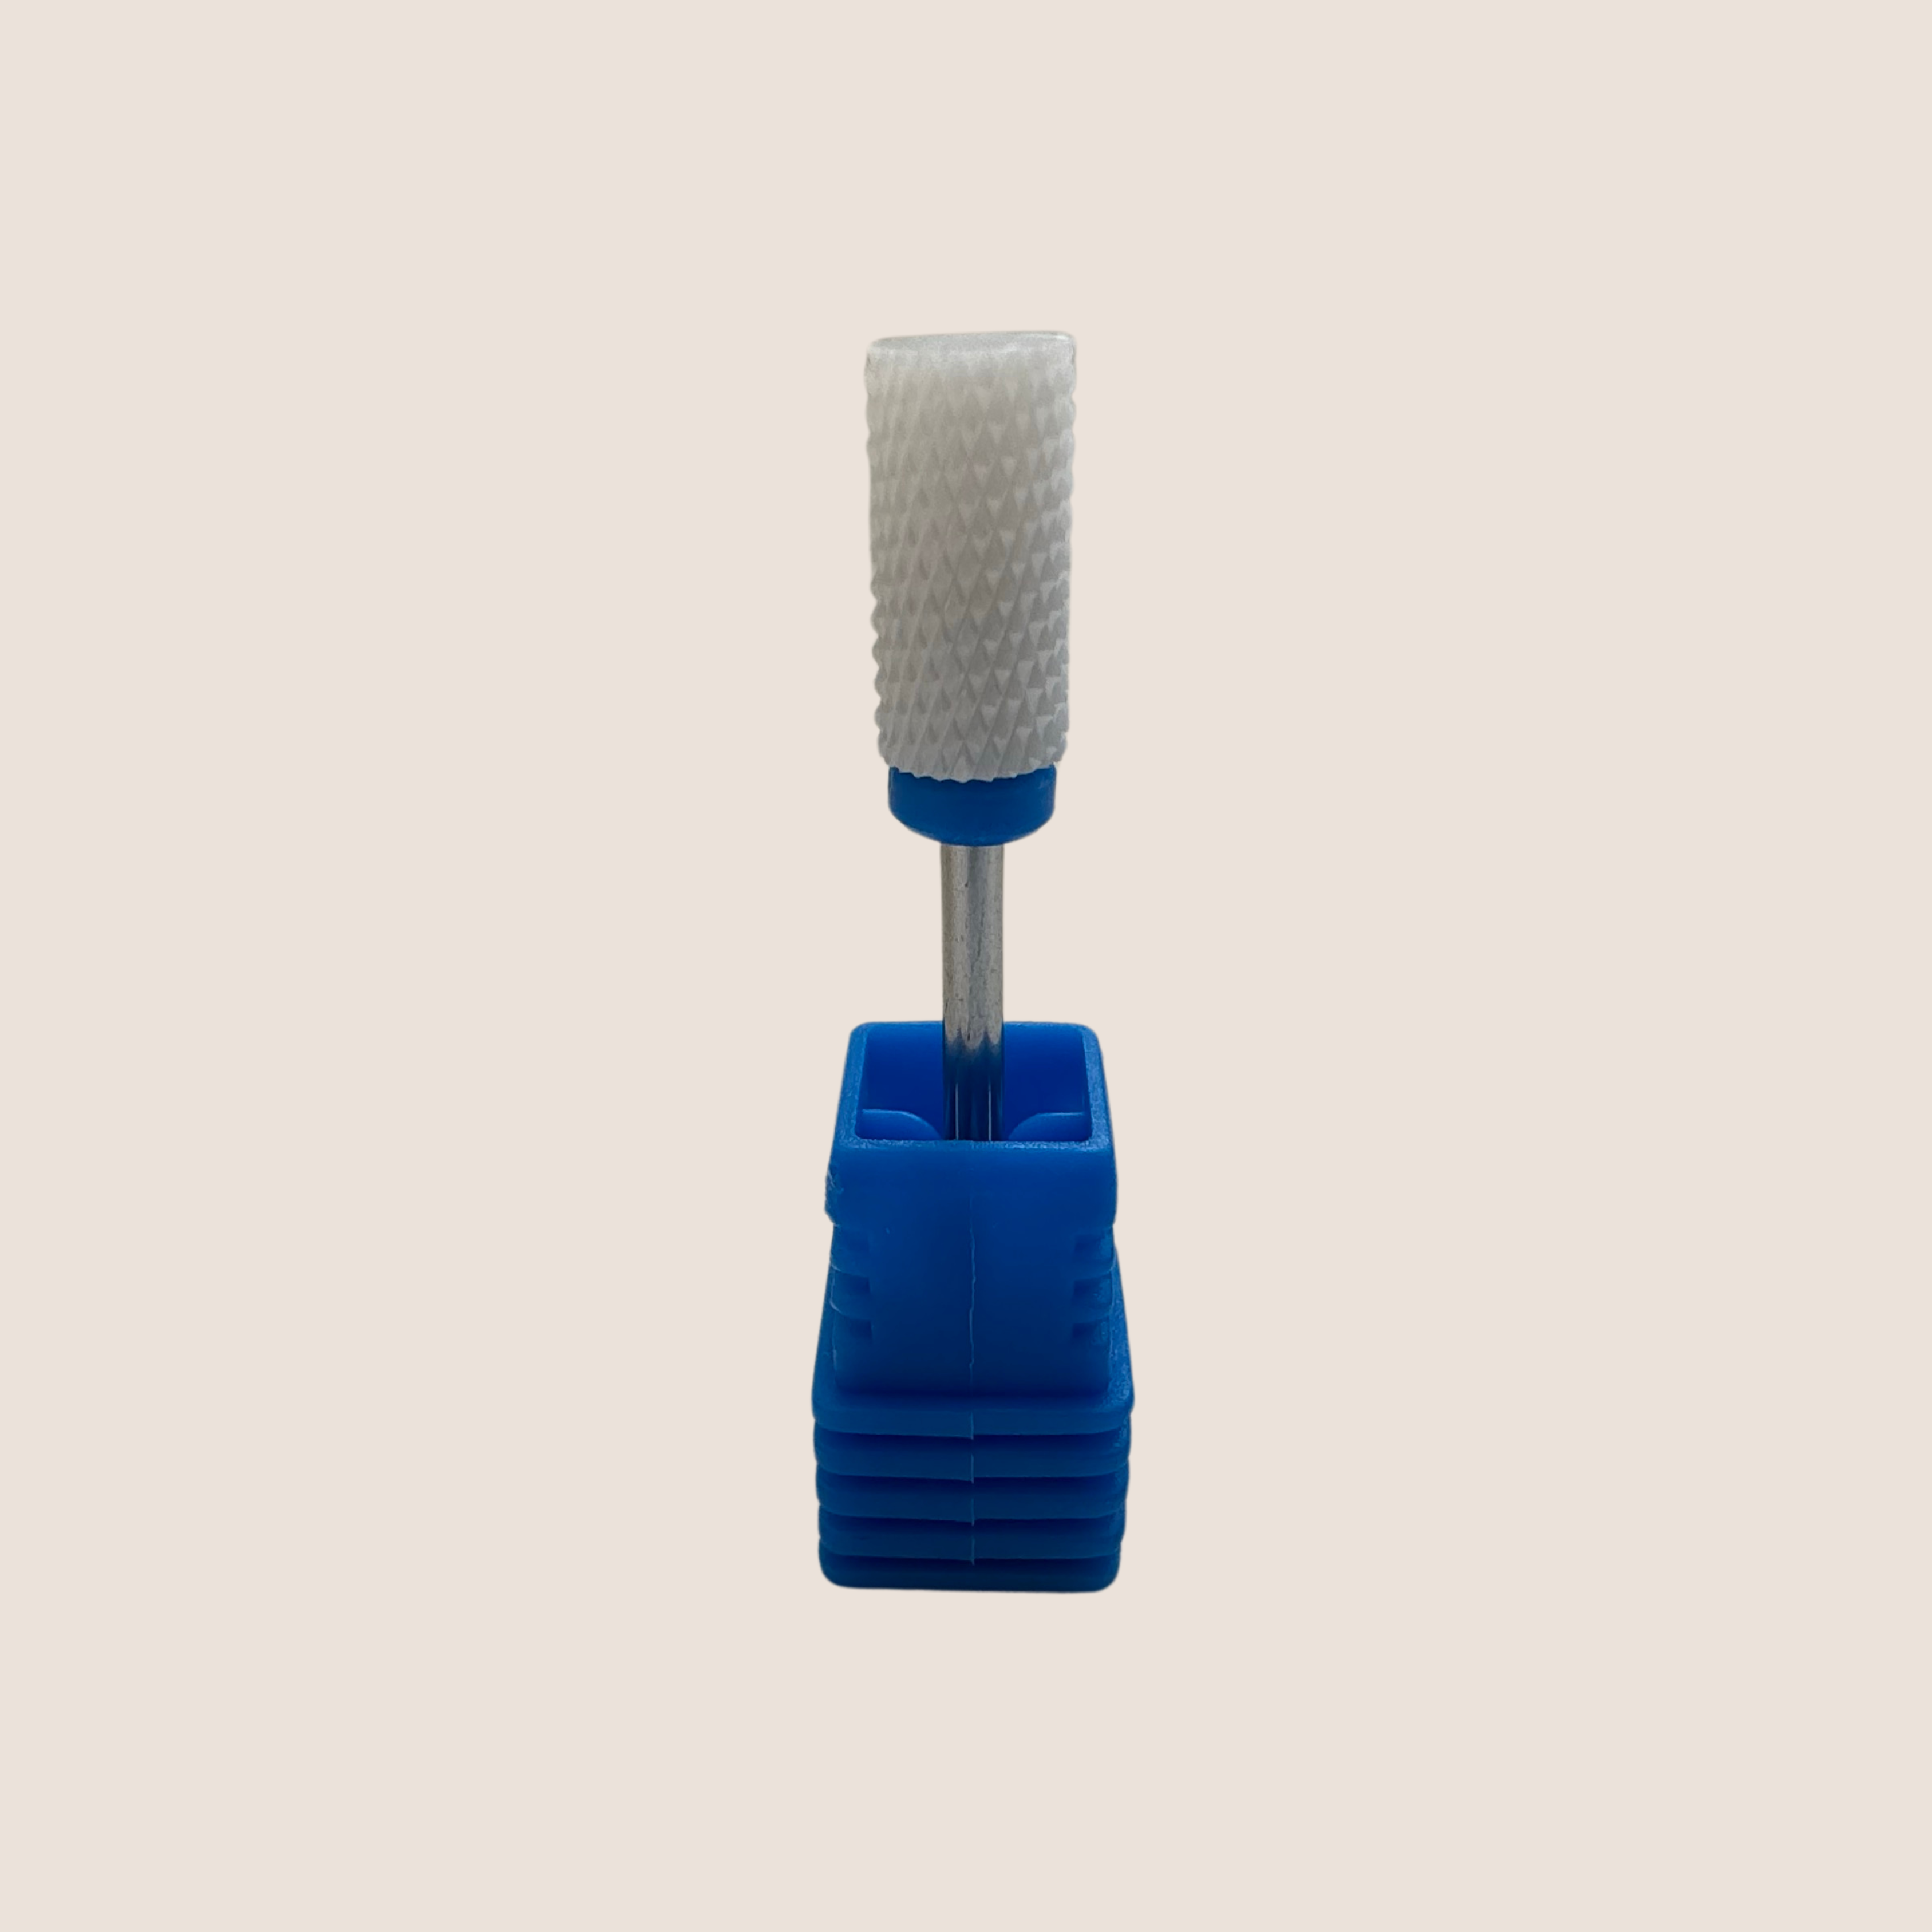
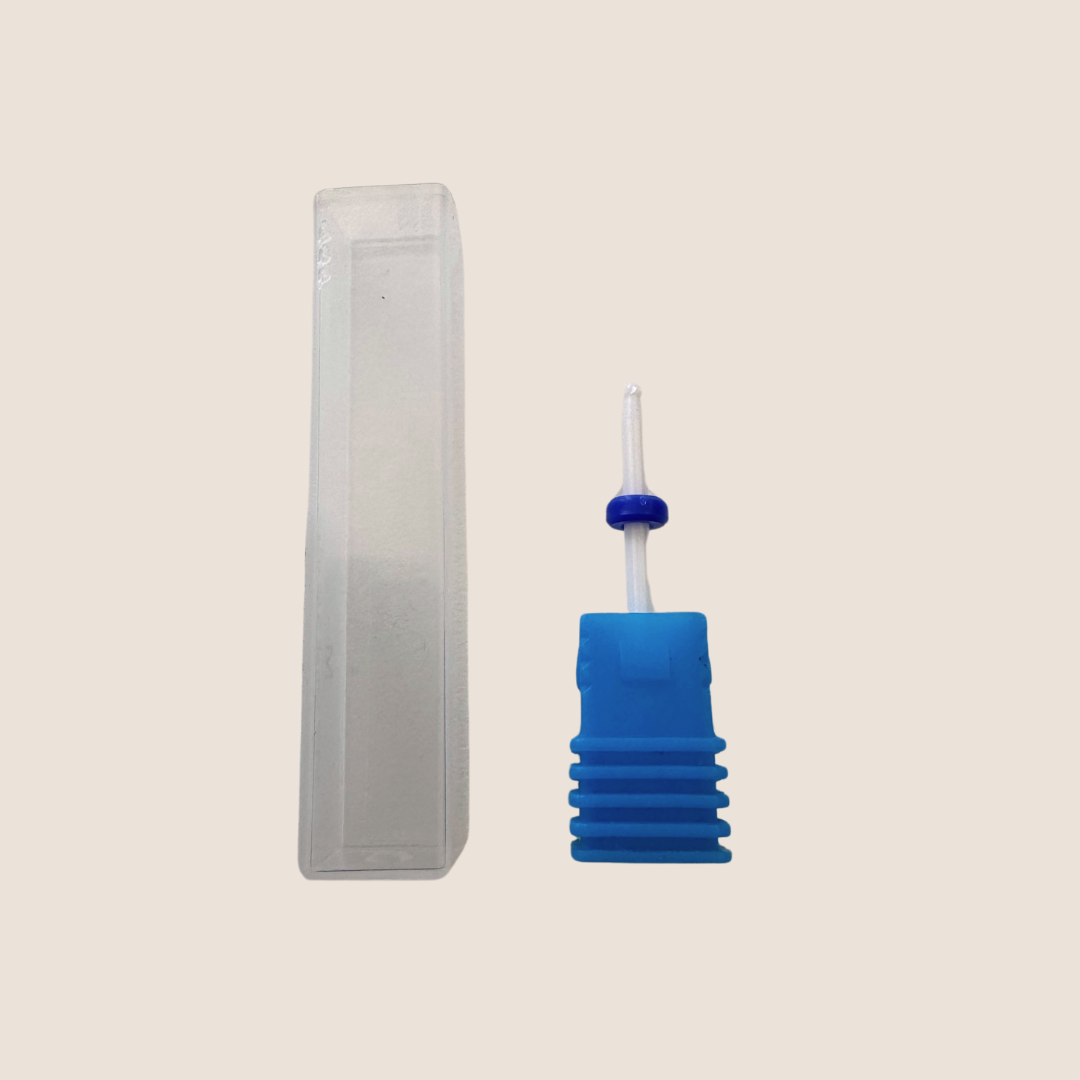
Ceramic bits are the all-rounders for working with gel and acrylic. According to the product description, our BNC ceramic bits offer very high removal performance and maximum wear resistance with almost no heat build-up. They are also resistant to chemical disinfection – a clear plus for hygienic work. Typical uses: blending the tip transition, removing gel and acrylic and shortening nails.
Diamond drill bits
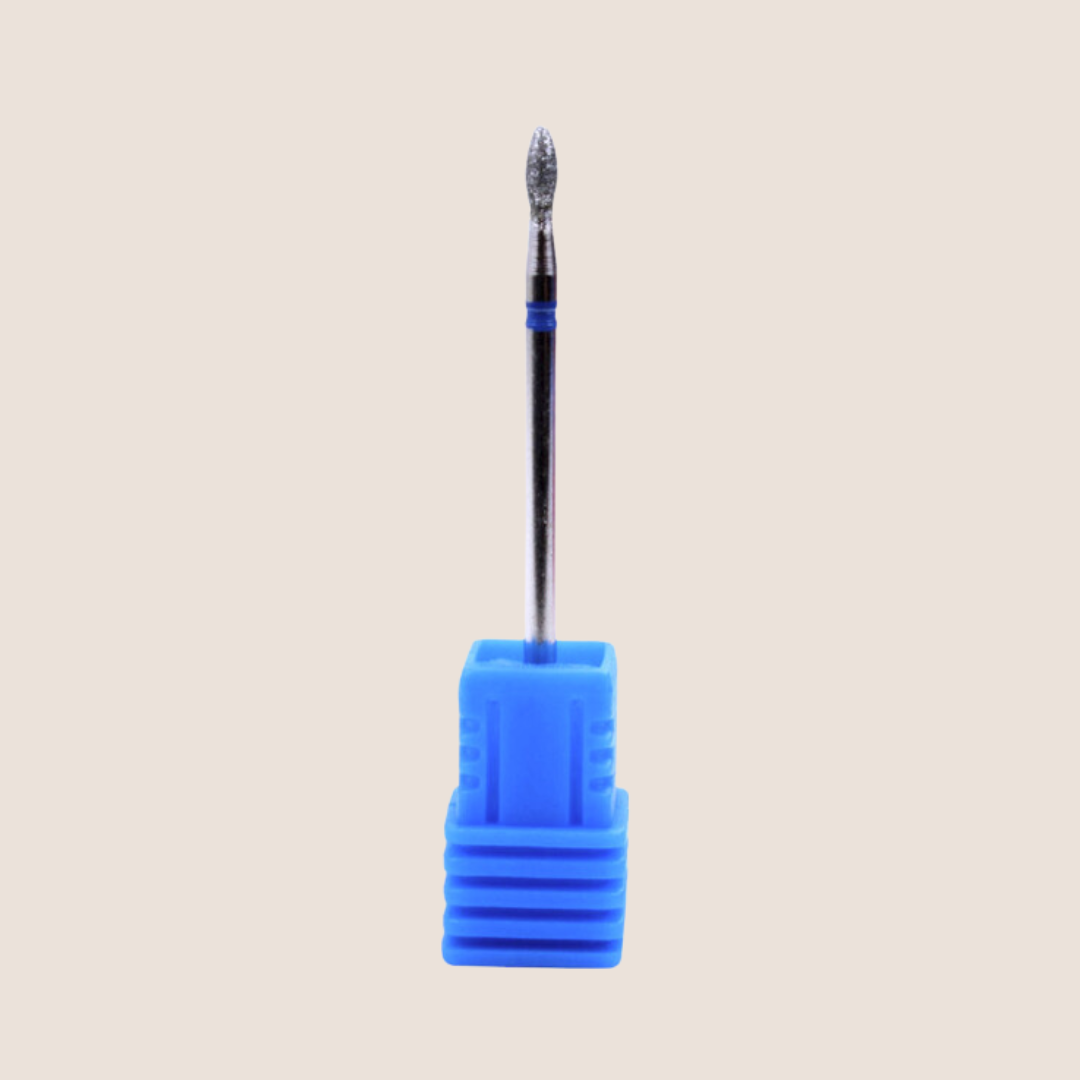
Diamond-coated bits come in many small, fine shapes. They are particularly suited to detailed work, for example around the cuticle area, and are used for manicures and pedicures. The BNC Diamond Drill Bit medium, for example, is designed for cuticle work, is wear-resistant and resistant to chemical disinfection.
Other types
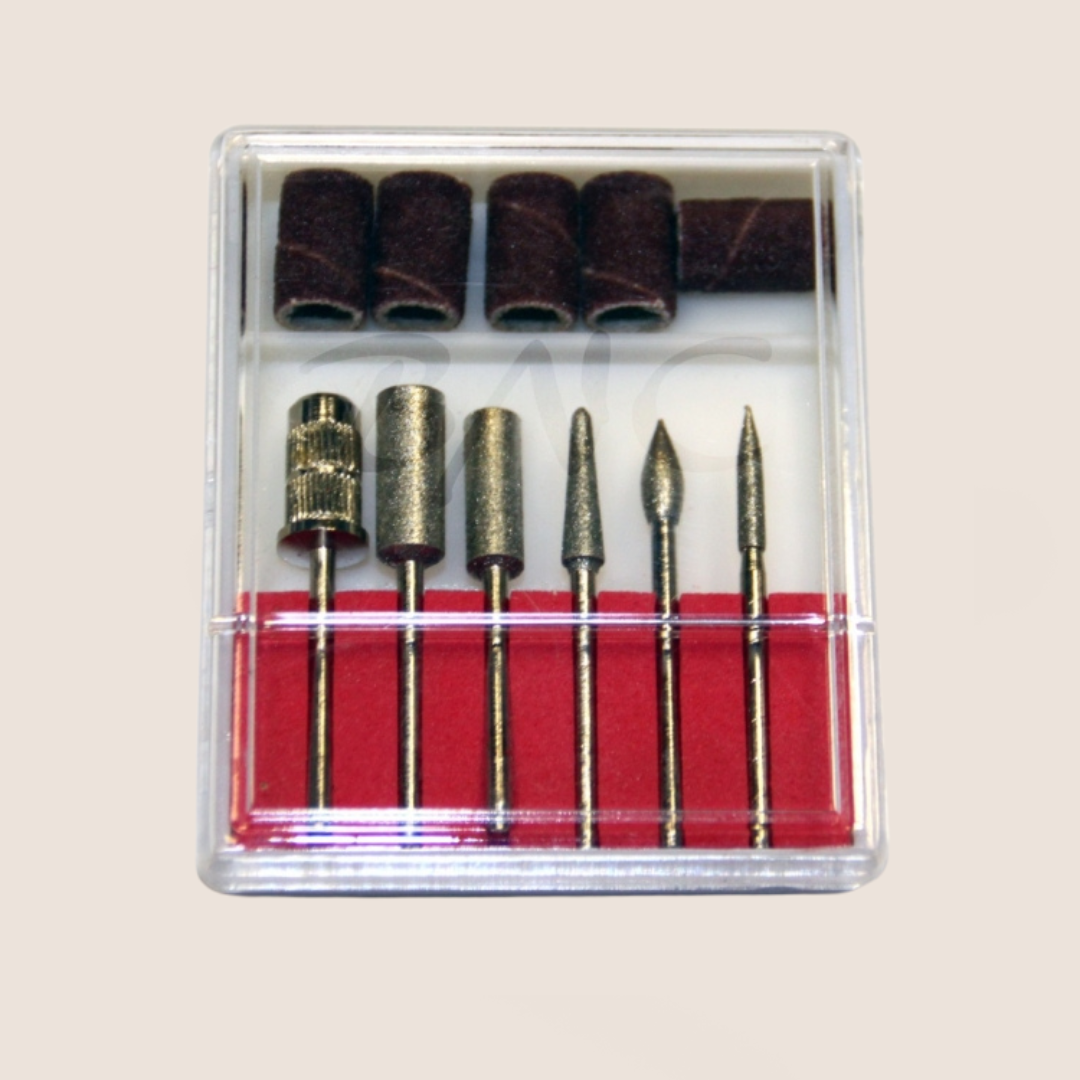
- Carbide bits with cut flutes – popular with professionals for fast product removal.
- Sanding bands – disposable sleeves on a mandrel that are changed after every client.
Shapes & grits: which bit for which job?
Besides the material, the shape determines where you use a bit. The grit determines how much it removes: coarse for fast removal, medium as an all-rounder, fine for finishing and sensitive areas. Here are the most important shapes at a glance:
Safe use: how to protect the natural nail
- Start low: Always start at a low speed and only increase it once you can guide the bit confidently. Beginners in particular work with more control at a slower pace.
- Light touch: Let the bit do the work – heavy pressure creates heat and can damage the natural nail.
- Keep moving: Guide the drill evenly across the surface and never stay in one spot.
- Protect the natural nail: Coarse bits are meant for artificial product. Just before you reach the natural nail, switch to a fine grit or continue with a file or buffer.
- Cuticle care with a gentle hand: In the cuticle area, only use fine bits held flat with minimal pressure. The living skin must never be injured.
- Secure fit: Before every start, check that the bit sits firmly in the handpiece.
- Mind the direction: Many devices offer forward and reverse rotation – choose the direction to suit the side you're working on.
Prefer to remove gel by hand? Then read our article How do I remove my gel nails? And to find out which file suits you, check out Which nail file suits me best?
Cleaning & caring for your bits
Clean bits last longer, work more precisely and are the foundation of hygienic work. Here's what to do after every use:
- Remove dust and residue: Brush the bit thoroughly. The BNC Bit Cleaning Brush (nylon) is especially gentle, while the BNC Bit Cleaning Brush (brass) has firmer bristles. Both remove dust and product build-up.
- Disinfect: Then treat the bits with a disinfectant, e.g. the BNC Hydro-Sept Disinfectant Spray 100 ml. Follow the contact time stated by the manufacturer.
- Dry & store: Let the bits dry completely and store them protected, for example in a box or bit holder.
- Change sanding bands: Dispose of disposable bands after every client.
You'll find more products for clean tools under hygiene & disinfection.
Starter set: the bits to begin with
You don't need 20 bits to get started. A solid basic kit for gel and acrylic:
- Ceramic cone fine – your all-rounder for surface, transitions and finish.
- Ceramic cylinder medium – for even removal and the free edge.
- Ceramic ball fine – for curves and the area in front of the cuticle.
- Cleaning brush plus disinfection – so your bits last a long time.
Don't have a device yet? The BNC Nail Drill Set New runs at up to 35,000 rpm with 45 watts, is low in vibration and noise, has a twist-lock handpiece, forward and reverse rotation and comes with a set of drill bits. If you like to keep your hands free, go for the BNC Professional Nail Drill Set with an on/off foot pedal.
💡 Pro tip for salons
Work with a bit rotation system: keep at least two of each shape on hand so that one cleaned and disinfected bit is always ready while the other is being reprocessed. For maximum choice in detail and pedicure work, the BNC 30-piece diamond drill bit set in a box is well worth it – paired with the 1 litre Hydro-Sept disinfectant cleaner for accessories and work surfaces. To learn how to set up your workstation around the drill, read The perfect nail table: what you really need.
FAQ: nail drill bits
Which drill bit is best for beginners?
A fine-grit ceramic cone is ideal to start with: it's versatile, removes product in a controlled way and is easy to guide. Add a cylinder and a ball later on.
What's the difference between ceramic and diamond drill bits?
Ceramic bits are mainly designed for removing gel and acrylic and generate hardly any heat in the process. Diamond bits usually come in small, fine shapes – they're especially suited to detail work and the cuticle area.
What is the right speed?
There's no one-size-fits-all number – it depends on the bit, the material and your experience. The basic rule: start low, increase slowly and work especially carefully around the cuticles.
Can I use the drill on the natural nail?
Only very carefully and with a fine grit. Coarse bits are meant for artificial product. The natural nail is best worked with a fine bit or with a file and buffer.
How do I clean my nail drill bits properly?
First remove dust and residue with a bit cleaning brush, then disinfect, let the bits dry completely and store them protected.
When should I replace a bit?
When it noticeably removes less, needs more pressure or the surface is damaged. A worn bit creates more friction and heat.
Find your perfect drill bit
Ceramic bits, diamond bits, sets and cleaning brushes are waiting for you: in the BNC online shop you'll find nail cosmetics & nail salon supplies in professional quality – for home and for the salon.
Browse the shop




Leave a comment
This site is protected by hCaptcha and the hCaptcha Privacy Policy and Terms of Service apply.