





 All Gels
 1-Phase Gels
 Bonding Gels
 Builder Gels
 Finish Gels
 Fiberglass Gels
 French Gels
 Make-up/Camouflage
 Color Gels
 Effect Gels
 All Acrylics
 Acrylic Powder
 Polyacrylic Gels
 Acrylic Liquids
 Acrylic Accessories
 All Nail Polishes
 Nail Polish
 Shellac
 Stamping Polish
 All Liquids
 Cleaner
 Primer & Nail Prep
 Antifungal
 No Lines
 Remover
 All Nail Art
 Rhinestones, Effects & Pigments
 One Stroke & Stamping
 Stickers & Nail Foils
 All Products
 Creams
 Nail Oils
 Hygiene & Disinfection
 UV/LED Lamps & Desk Lamps
 Nail Drills & Bits
 Files & Buffers
 Brushes
 Tools
 Empty Containers
 Display & Storage
 Nail Extension / Repair
 Sets
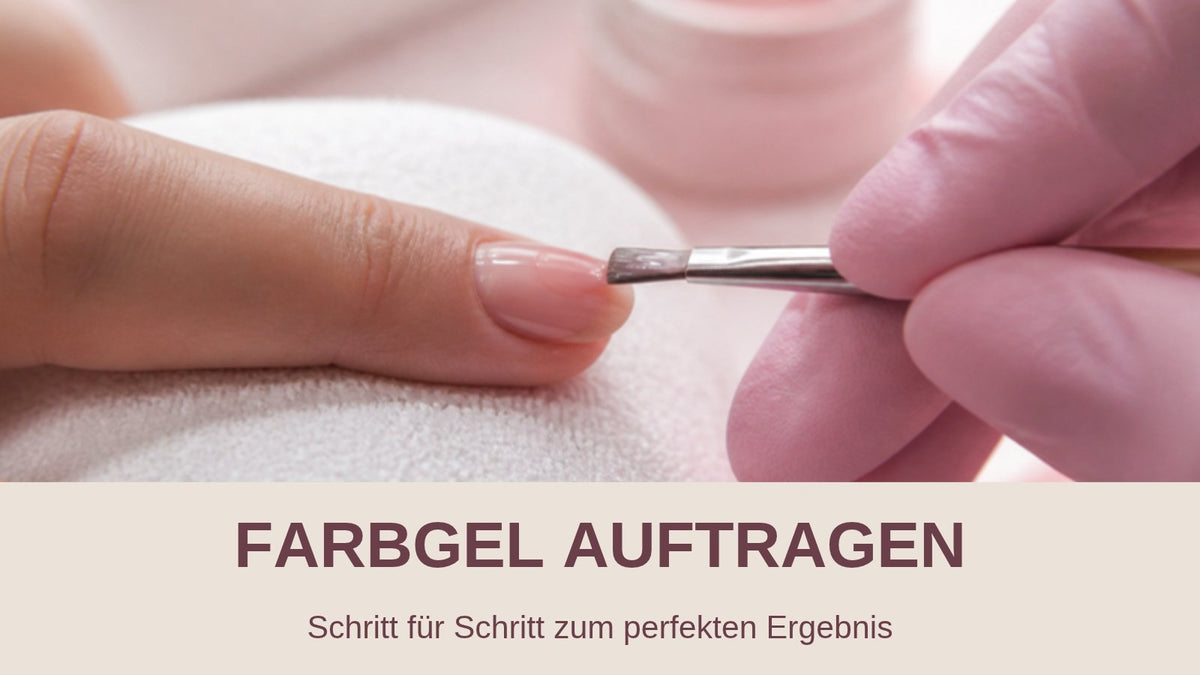
Applying colour gel correctly is the basis for long-lasting, glossy gel nails in your favourite shade. Colour gel is versatile, covers beautifully and comes in countless colours and effects. In this article you'll learn which materials you need, how to prepare your nails properly and how to apply colour gel step by step – for a salon-quality result.
The materials you need
Before you start, have everything within reach:
- Nail file and buffer, e.g. the BNC Half-Moon Buffer File 180/240
- Cuticle pusher or orange wood stick
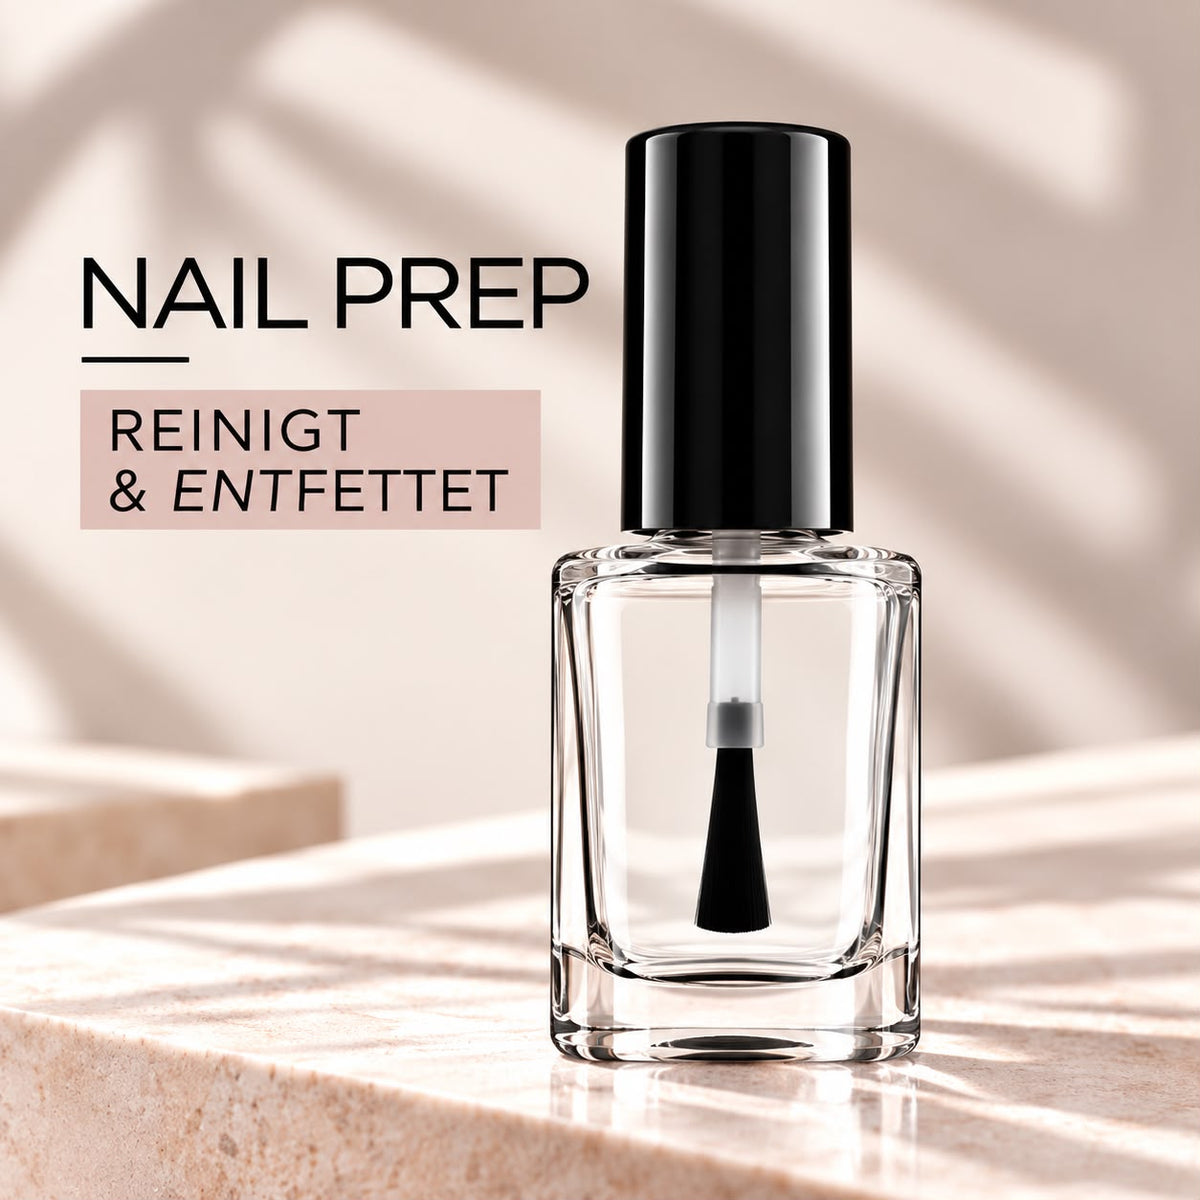
- Nail prep for degreasing, e.g. BNC Nail Prep (Dehydrator)
- Bonding or base gel, e.g. BNC Masterline UV/LED Base Bonding Gel Clear
- Colour gel in your favourite shade from our colour gels
- Finish or sealing gel, e.g. BNC High-Gloss Finish Gel without Sticky Layer
- A gel brush, e.g. BNC Gel Brush Size 4 with Acrylic Handle
- A UV/LED lamp, e.g. the BNC UV/LED 26 Watt Lamp
- Cleaner and lint-free wipes
- Nail oil and hand cream for aftercare
Preparing your nails
Preparation determines how long your gel lasts. Always work dry:
- File your nails into shape: Bring your nails to the desired length and shape. File in one direction to avoid tears.
- Push back the cuticles: Gently push back the cuticles and remove loose skin from the nail plate. Important: Don't soak your nails in water before a gel application. The nail absorbs water, expands and later contracts again – a common cause of lifting.
- Lightly buff the surface: Buff the nail surface with a fine buffer until the shine is gone. Don't file the nail thin!
- Remove dust and dehydrate: Remove the filing dust and apply nail prep to remove oil and moisture from the nail plate. From now on, don't touch the nails with your fingers.
We explain in detail which liquid to use when in the article Cleaner, primer, nail prep & remover – what to use when?
Applying colour gel: step-by-step guide
1. Apply the bonding gel
- Apply a very thin layer of bonding or base gel to the natural nail and work it in lightly.
- Cure the gel according to the manufacturer's instructions. According to the product description, BNC Masterline Base Bonding Gel needs 60 seconds under UV/LED light or 120 seconds in a UV lamp.
- Leave the sticky inhibition layer on – it bonds to the next layer.
Find out more about the perfect foundation in The perfect base for gel nails.
2. First layer of colour gel
- If needed, stir the colour gel briefly with a wooden stick so the pigments are evenly distributed.
- Place the brush a little away from the cuticle and draw the gel towards the tip in thin, even strokes.
- Keep a small gap to the cuticle and side walls all around – gel shouldn't get onto the skin.
- Run the brush briefly along the free edge to “cap” it. This helps prevent chipping.
- Cure the layer according to the manufacturer's instructions.
3. Second layer of colour gel
- For a rich, opaque colour, apply a second thin layer and cure again.
- Two to three thin layers are better than one thick one: thick layers cure less thoroughly, can wrinkle and may cause more heat during curing.
4. Seal with finish gel
- Apply the finish gel evenly and cap the free edge here too.
- Cure according to the manufacturer's instructions. For the BNC High-Gloss Finish Gel without Sticky Layer, the product description states 120–180 seconds in a UV/LED lamp or 240 seconds in a UV lamp.
5. Remove the sticky layer (if any)
If your finish gel leaves a sticky layer, wipe it off with cleaner and a lint-free wipe. With a no-wipe finish gel, you can skip this step.
6. Aftercare
Finally, massage some nail oil into your cuticles and apply hand cream.
💡 Pro tip for salons
Work on four fingers per hand first and then do the thumb separately – that way you can place the thumb flat in the lamp and the gel won't run to the side. And: close the colour gel pot after every use, as daylight and lamp light can start curing the gel in the pot.
Common mistakes and how to avoid them
- Streaks: Too little gel on the brush or too much pressure. Pick up a little more product and let the gel level briefly before curing.
- Wrinkles and bubbles: Layers that are too thick or gel that has been shaken hard. Stir rather than shake.
- Gel on the skin: Remove it with an orange wood stick before curing. Skin contact with uncured gel can lead to irritation and allergies.
- Chipping and lifting: Usually caused by the preparation (oil, moisture, cuticle residue) or an uncapped edge. More on this in Gel nails lifting – causes & solutions.
- Not fully cured: Lamp and gel need to match. Everything about choosing the right device is in our UV or LED lamp buying guide.
FAQ: Applying colour gel
How many layers of colour gel do I need?
Usually two thin layers. Light or sheer shades may need a third layer.
Do I need to remove the sticky layer between coats?
No. The inhibition layer between bonding gel, colour gel and finish gel stays on because it bonds the layers together. It's only removed after the final step, if necessary.
Can I apply colour gel directly to the natural nail?
For good adhesion, always use a bonding or base gel first. For extra strength, you can also add a builder gel underneath.
How do I remove colour gel?
Classic colour gel is usually filed off. Read how to do it gently in Removing gel nails.
Just getting started? Then our guide DIY gel nails for beginners is perfect for you.
Your favourite colour is waiting
Colour gels, bonding and finish gels, brushes and lamps: in the BNC online shop you'll find nail cosmetics & nail salon supplies in professional quality – for home and for the salon.
Browse the shop



Leave a comment
This site is protected by hCaptcha and the hCaptcha Privacy Policy and Terms of Service apply.