





 All Gels
 1-Phase Gels
 Bonding Gels
 Builder Gels
 Finish Gels
 Fiberglass Gels
 French Gels
 Make-up/Camouflage
 Color Gels
 Effect Gels
 All Acrylics
 Acrylic Powder
 Polyacrylic Gels
 Acrylic Liquids
 Acrylic Accessories
 All Nail Polishes
 Nail Polish
 Shellac
 Stamping Polish
 All Liquids
 Cleaner
 Primer & Nail Prep
 Antifungal
 No Lines
 Remover
 All Nail Art
 Rhinestones, Effects & Pigments
 One Stroke & Stamping
 Stickers & Nail Foils
 All Products
 Creams
 Nail Oils
 Hygiene & Disinfection
 UV/LED Lamps & Desk Lamps
 Nail Drills & Bits
 Files & Buffers
 Brushes
 Tools
 Empty Containers
 Display & Storage
 Nail Extension / Repair
 Sets

Applying shellac correctly is no rocket science: with the right preparation and thin layers, UV polish lasts up to three weeks without chipping – in the salon or at home. Shellac is the perfect solution for anyone who loves long-lasting shine, a natural look and quick application.
Here is a step-by-step guide to help you achieve a professional result – whether you are a beginner or a pro.
What exactly is shellac?
Shellac – also called UV polish, UV/LED polish or hybrid polish – combines the properties of nail polish and gel: it goes on as thinly as polish but is cured under a UV or LED lamp and therefore lasts much longer. Ideal for well-groomed nails without an elaborate nail set. “Shellac” was originally a brand name, but today it is used colloquially for all UV polishes. Read more in our article What is shellac?
What you need to apply shellac
- UV/LED lamp, e.g. the BNC UV/LED 26 Watt Lamp or, for the salon, the BNC 168 Watt Curing Lamp
- Base and top coat – e.g. the BNC Shellac Sealer Base & Top, which is both in one
- A shellac colour of your choice from our Shellac / UV nail polish category
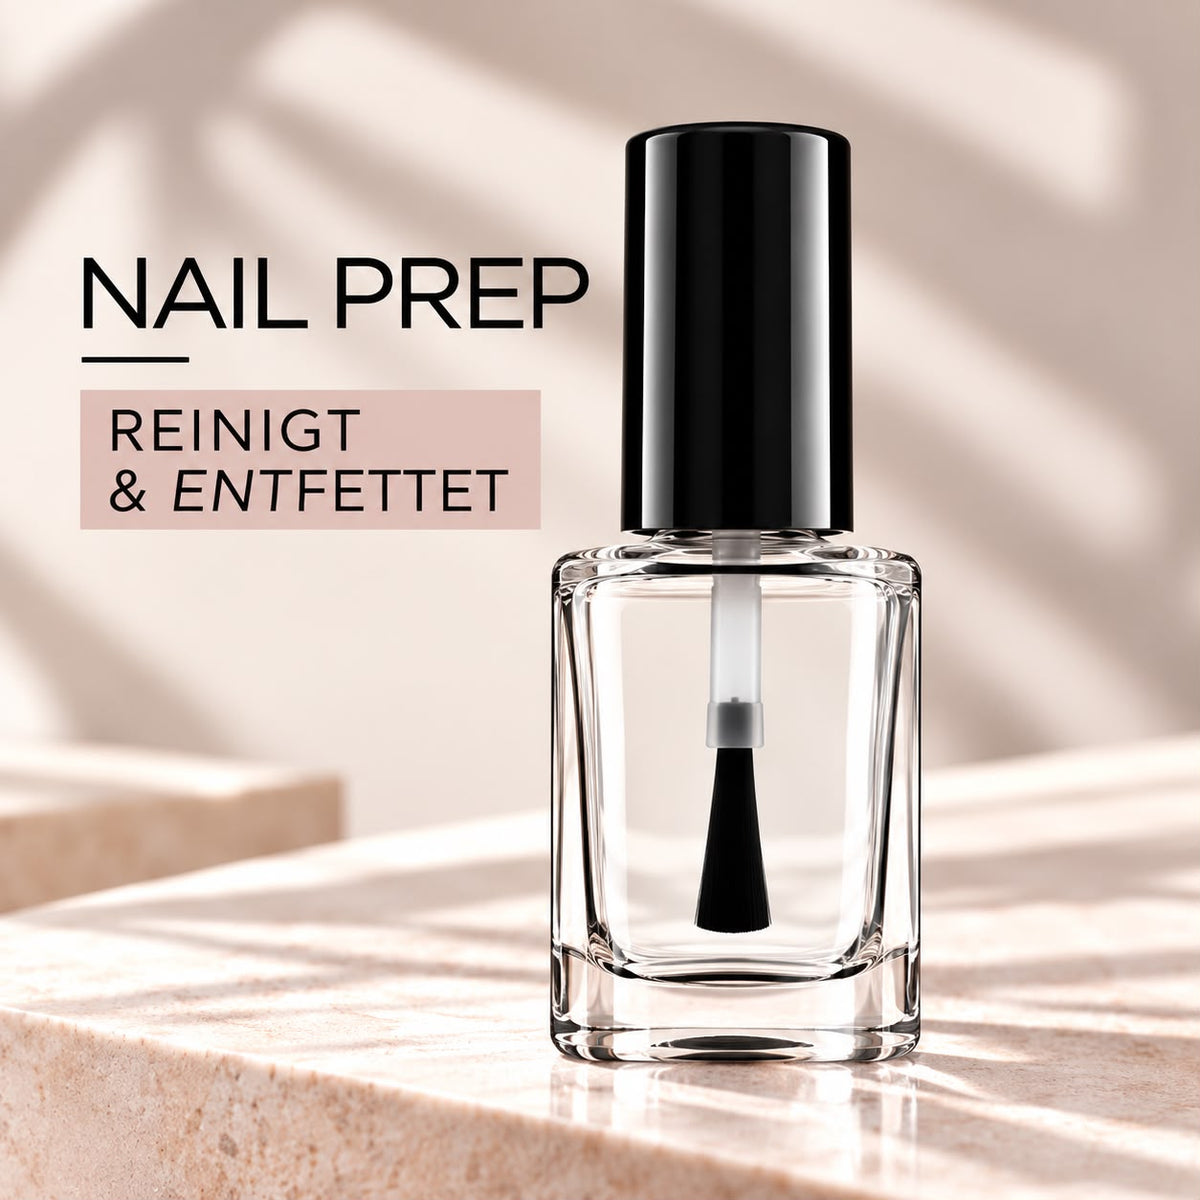
- Nail prep for dehydrating, e.g. BNC Nail Prep
- Cleanser for removing the sticky layer, e.g. BNC Cleaner Clear
- Lint-free wipes or pads
- Cuticle pusher, file and buffer (e.g. BNC Buffer White 100/100)
Step-by-step guide: applying shellac correctly
1. Prepare the nails
- File your nails into shape.
- Gently push back the cuticles and remove loose cuticle from the nail plate.
- Lightly buff the nail surface to remove the shine – don't file too hard.
- Remove the dust and dehydrate the nail plate with nail prep.
2. Apply the base coat
- Apply a thin layer of base coat and cap the free edge.
- Make sure not to get onto the edges or the skin.
- Cure the layer – according to the product description, the BNC Shellac Sealer Base & Top needs 60 seconds under LED or 120 seconds under UV.
3. Apply the colour
- Apply a thin layer of shellac colour, e.g. BNC Shellac UV/LED Polish Dark Red.
- Cure again.
- Repeat this step for a second, more intense coat of colour.
4. Seal with top coat
- Apply a thin layer of top coat and cap the free edge here as well.
- Cure under the lamp as before.
- Finally, remove the sticky layer with cleanser.
💡 Pro tip for salons
Apply all layers thinly and evenly – this improves durability and prevents the polish from running into the edges. Always work on one hand at a time and cure the thumb separately so that it lies flat under the light. And stick to the curing times that match your polish and lamp.
Common mistakes when applying shellac
- Layers too thick: they cure less thoroughly and lead to ripples or lifting.
- Polish on the skin: shellac that touches the cuticle lifts quickly.
- Insufficient prep: oil or dust residue on the nail reduces adhesion.
- Free edge not capped: chips often start at the tip.
Is your shellac still lifting? Our guide Gel nails & shellac lifting and our page Gel problems & solutions will help.
How long does shellac last?
With correct application and care, shellac lasts up to three weeks. It's important not to overstress your nails, to wear gloves when cleaning and to use cuticle oil regularly. You'll find suitable care products in our cuticle oils category.
Removing shellac gently
Shellac isn't filed off but soaked off: lightly buff the surface, place pads soaked in remover on the nails and wrap the fingertips in foil. After a few minutes, the polish can be gently pushed off with an orangewood stick. BNC Shellac Remover with Lanolin dissolves shellac and hybrid polishes while protecting the skin from drying out.
FAQ: How to apply shellac correctly
Do I need a UV or an LED lamp?
Both work as long as polish and lamp are compatible. Curing times vary depending on the device. You'll find detailed buying advice in our article UV or LED lamp?
How many coats of colour are ideal?
Usually two thin coats. With very opaque colours one coat may be enough, with light or sheer colours you may need three.
Why is my shellac still sticky after curing?
That's the sticky layer, which is removed with cleanser after the final cure. If the polish underneath remains soft, the layer was too thick or the curing time too short.
Can I apply shellac to natural nails without extensions?
Yes, that's exactly what shellac is designed for. According to the product description, the BNC Shellac Sealer Base & Top is also suitable for strengthening natural nails.
Everything for your shellac nails
From salon-quality UV polish to lamps and accessories: in the BNC online shop you'll find nail cosmetics & nail salon supplies in professional quality – for home and for the salon.
Browse the shop




Leave a comment
This site is protected by hCaptcha and the hCaptcha Privacy Policy and Terms of Service apply.